 Pin This
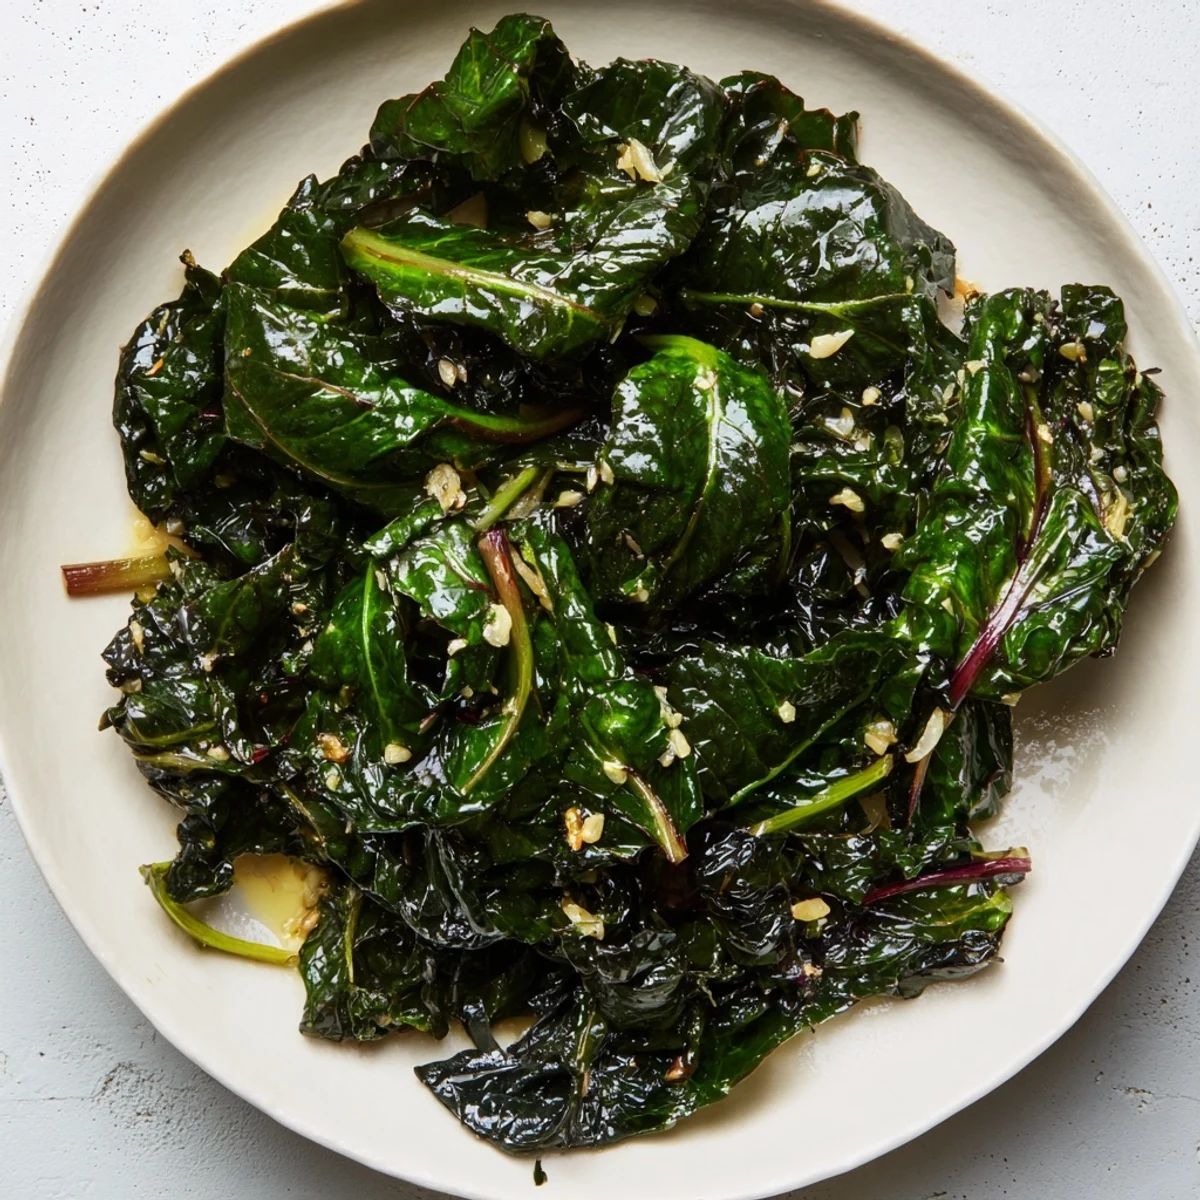
 Slow-cooked winter greens become tender and flavorful through gentle braising, enhancing their natural earthy tones. This dish captures the essence of cozy, nourishing fare, combining nutritional richness with simple cooking techniques. Ideal for enjoying seasonal vegetables at their peak.
I remember the first time I truly understood braised greens was during a particularly cold January at my grandmother's kitchen. She pulled a bunch of dark, crinkled kale from her garden box and said, "Watch how heat transforms something so tough into something you can't stop eating." That lesson stuck with me far beyond that single afternoon, and now whenever winter rolls around, I find myself drawn back to this simple technique that somehow makes everything taste like home.
I made this for a dinner party on the coldest night of the year, and someone actually asked for seconds of the greens before touching anything else on the plate. That's when I knew I'd finally nailed it—when braised greens become the star instead of the sidekick.
Ingredients
- Winter greens (kale, collards, mustard greens, or a mix): About two generous handfuls, roughly chopped. The tougher greens handle braising beautifully and actually improve from the long, slow cooking. Don't use delicate greens like arugula here.
- Good olive oil: 3 tablespoons. This is your base flavor, so use something you actually like the taste of.
- Yellow onion: 1 medium onion, sliced thin. It disappears almost completely into the braising liquid and creates natural sweetness.
- Garlic: 4 cloves, minced. Add it after the onion softens so it doesn't burn and turn bitter.
- Low-sodium vegetable or chicken broth: 1 cup. The greens will release their own liquid too, so you don't need as much as you might think.
- Apple cider vinegar or red wine vinegar: 2 tablespoons. Just a splash at the end brightens everything and cuts through the richness in the most unexpected way.
- Sea salt and freshly ground black pepper: To taste. Start light and adjust after tasting—the flavors concentrate as everything braises.
- Red pepper flakes (optional): A pinch. I add just enough to feel a whisper of heat underneath all that comfort.
Instructions
- Heat your oil and set the stage:
- Pour olive oil into a large, heavy-bottomed pot or Dutch oven over medium heat. Wait for it to shimmer—this takes only a minute or so. You want it hot enough that when you add the onion, it sizzles immediately but doesn't pop and splatter everywhere.
- Caramelize the onion slowly:
- Add your sliced onions and a pinch of salt. Stir occasionally and let them cook for about 8 to 10 minutes until they're soft and just starting to turn golden at the edges. This is not a race. The slower you go here, the sweeter they become.
- Wake up the garlic:
- Add your minced garlic and stir constantly for about 30 seconds. You'll know it's right when the smell hits you—that toasty, aromatic moment. Don't let it go longer or it'll turn acrid.
- Add the greens in batches:
- This is where it feels impossible—you have this huge pile of raw greens and nowhere to put them. Add a handful, let it wilt down in the hot oil for a minute, then add another handful. Keep going until everything is in the pot, wilting as it heats. It's like magic watching it transform from mountain to manageable.
- Pour in the braising liquid:
- Add your broth and give everything a good stir, scraping the bottom of the pot to loosen any stuck-on flavor. Bring the whole thing to a gentle simmer.
- The long, slow braise:
- Lower the heat to medium-low, cover the pot, and let it cook for 20 to 30 minutes. Stir it once or twice during this time. You're looking for the greens to become completely tender and the liquid to reduce by about half. The greens should be so soft that they practically melt on your tongue.
- Taste and finish:
- Remove from heat and stir in your vinegar. Taste it now—season with more salt, pepper, and red pepper flakes if you want that subtle heat. Let it sit for just a minute before serving so the flavors settle.
 Pin This
 My sister came home from college after a semester of terrible dorm food, and the first thing she asked me to make was these braised greens. We sat at the kitchen counter, and she ate almost the entire pot while telling me about her classes. That's when I realized comfort food isn't really about the food at all—it's about showing someone you understand what they need.
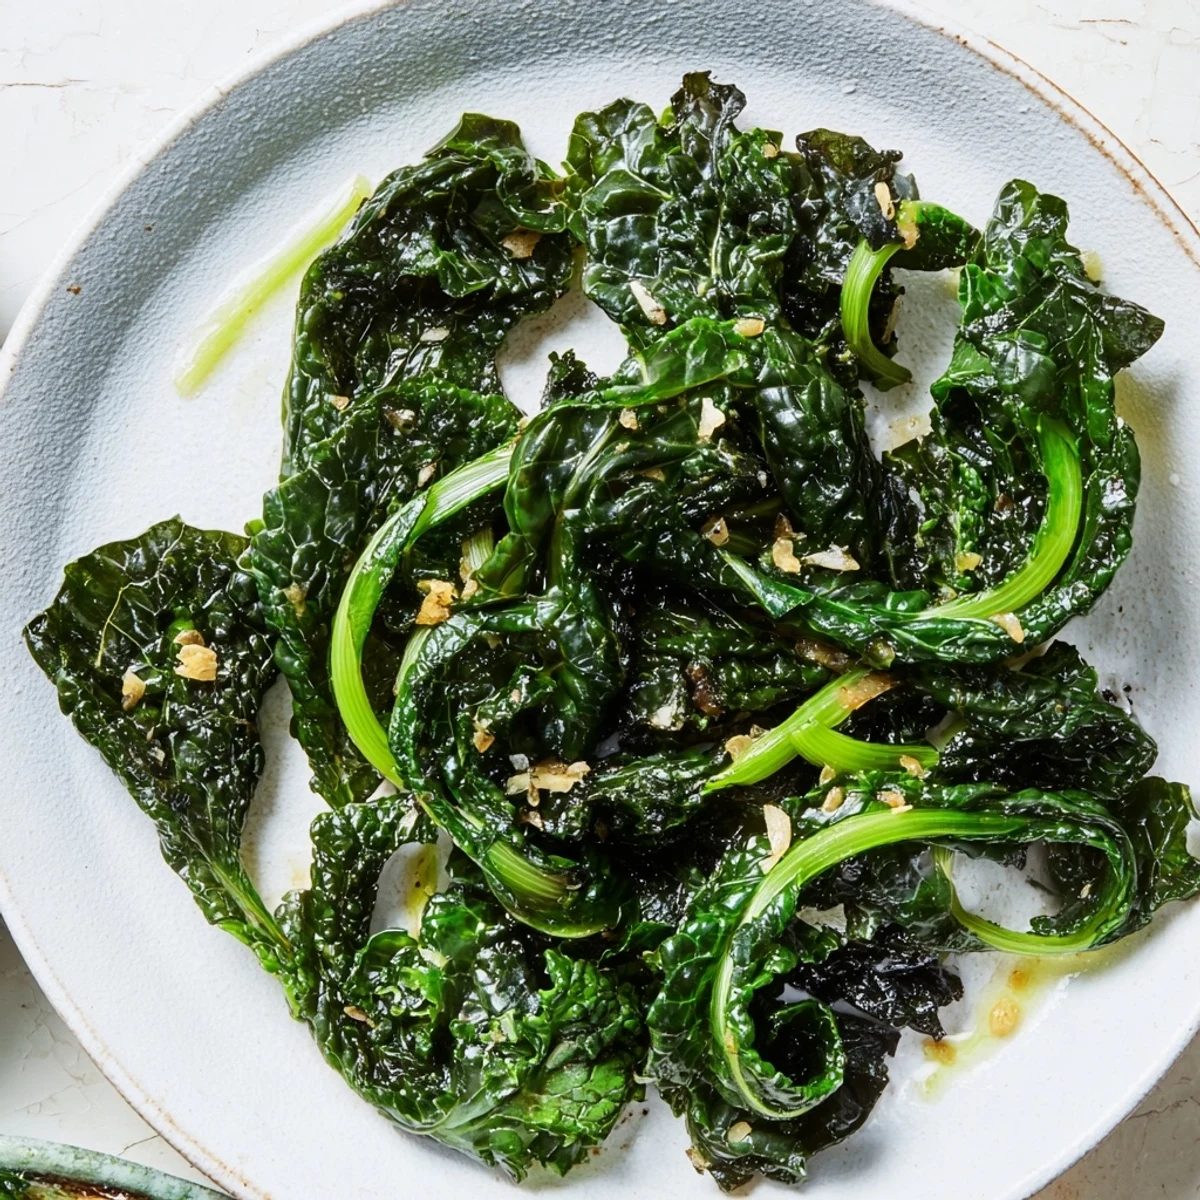
Choosing Your Winter Greens
Kale is what most people reach for, and it's wonderful—earthy and sturdy enough to handle the long braise. But don't sleep on collards, which become almost silky when braised, or mustard greens, which keep a subtle peppery bite. My favorite move is to mix them, using what I have on hand. The beauty of this recipe is that it works with whatever you find at the market that looks good and feels heavy in your hand.
Building Depth with Aromatics
Some cooks add bacon or pancetta, and I understand the appeal. But I find that when you give onions and garlic the time they need to sweeten and mellow, you don't need anything else to create depth. The oil becomes infused with their flavor, and that carries the entire dish. It's a quieter kind of richness, the kind that feels nourishing rather than heavy.
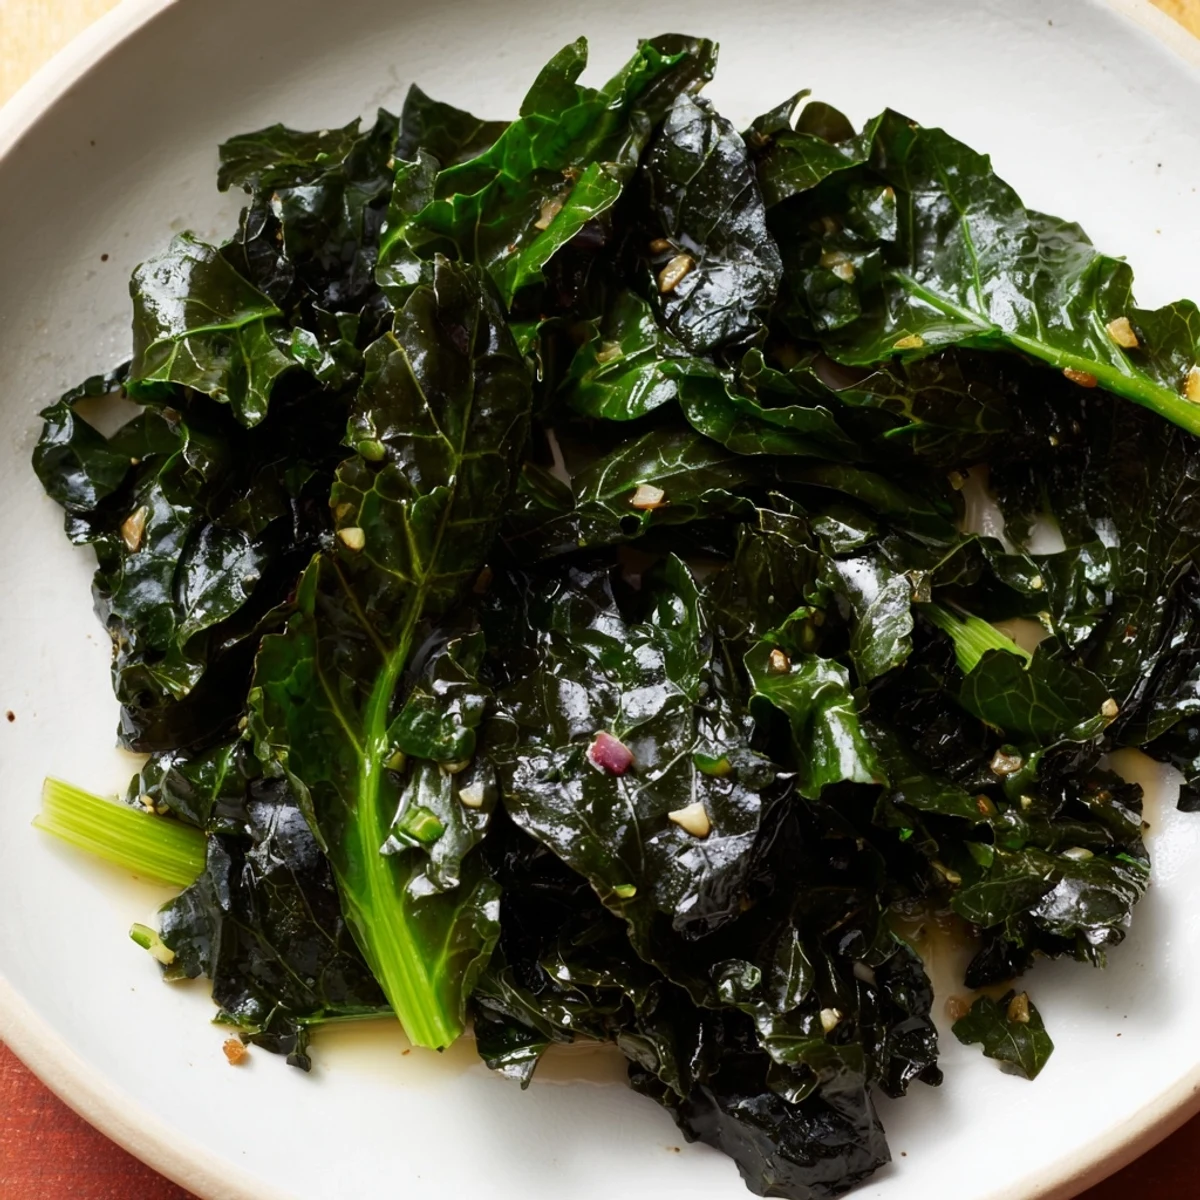
Serving and Keeping
These greens actually taste better the next day, when all the flavors have deepened and married together. Serve them warm as a side to roasted chicken or fish, or let them cool slightly and pile them on top of creamy polenta. They keep in the refrigerator for up to five days and reheat beautifully with just a splash of water and a stir over gentle heat.
- Make a double batch and eat them for lunch all week—they're that good and that simple
- A fried egg on top turns them into an unexpected breakfast that feels indulgent
- Freeze leftovers for up to three months, thawing overnight in the refrigerator before reheating
 Pin This
 Braised winter greens taught me that the simplest foods often carry the most meaning. There's something profound about transforming something tough and bitter into something tender and beloved.
Recipe FAQs
- → What are winter greens?
-
Winter greens include hearty leafy vegetables like kale, collards, and chard that thrive in colder seasons.
- → How does braising affect the texture?
-
Braising softens tough leaves, creating a tender yet flavorful texture that melds well with spices and liquids.
- → Which liquids work best for braising greens?
-
Broths, vegetable stock, or a splash of wine can enrich the greens during braising without overwhelming their taste.
- → Can other seasonings enhance braised greens?
-
Garlic, onions, herbs, and a touch of acidity like lemon juice brighten the dish and complement the greens.
- → What dishes pair well with braised winter greens?
-
They complement roasted meats, grains, or can be served as a hearty side on cold days.