 Pin This
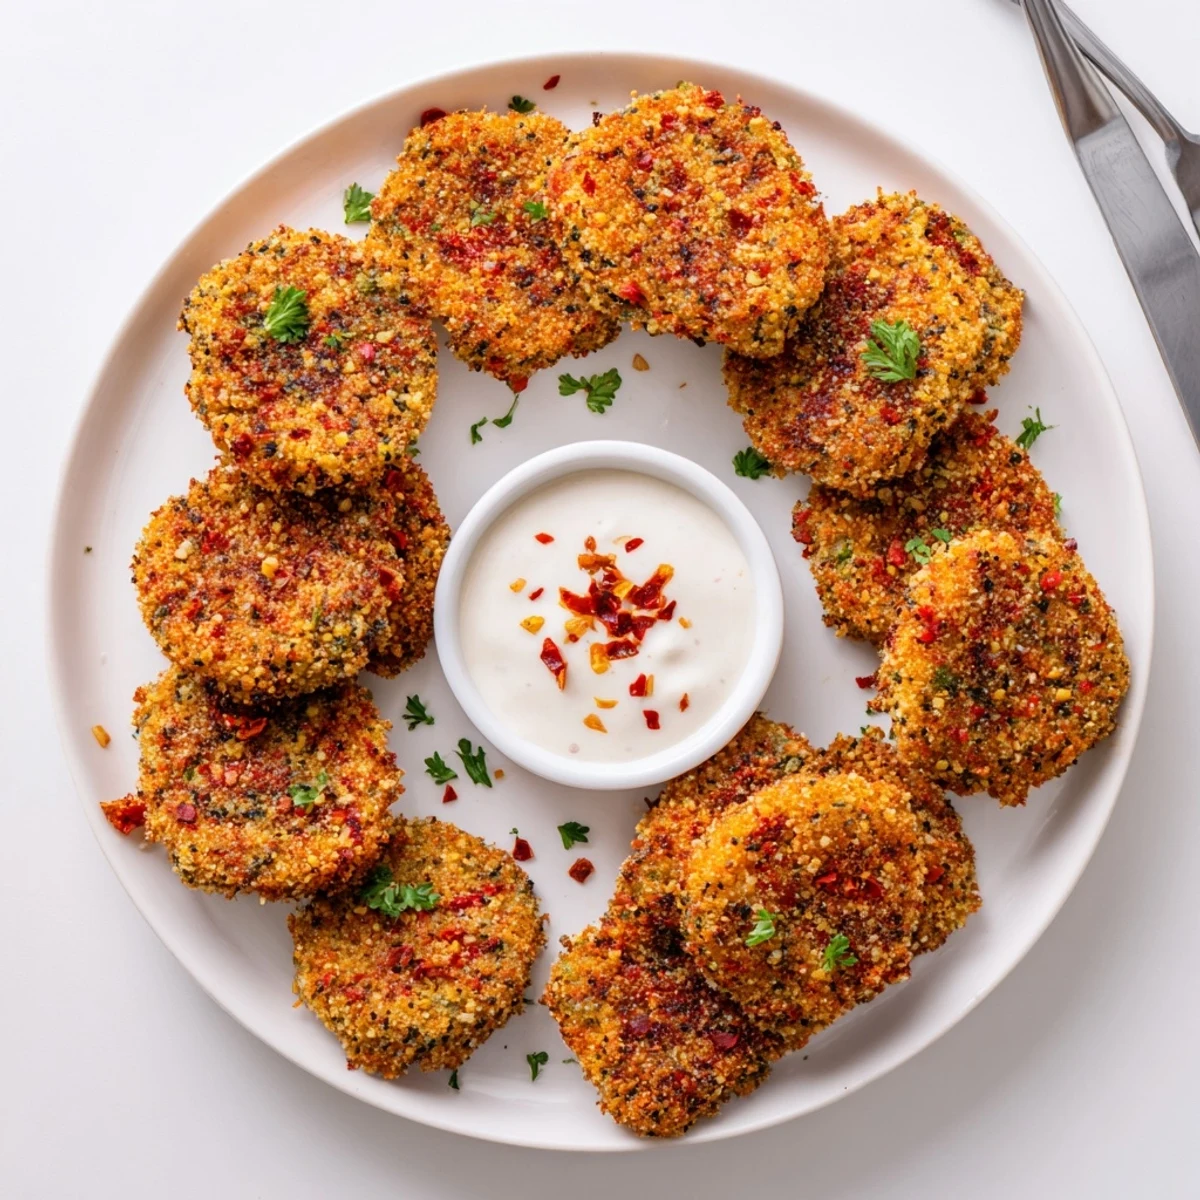
 These crispy chickpea nuggets bring together pantry staples into something truly irresistible. Mashed chickpeas are blended with minced garlic, chili flakes, smoked paprika, and cumin, then bound with breadcrumbs and shaped into bite-sized pieces.
Each nugget gets dunked in plant-based milk and coated in crunchy panko before being shallow-fried until deeply golden. The result is a crunchy exterior giving way to a warmly spiced, hearty interior.
They come together in under 45 minutes and work beautifully as a party appetizer, after-school bite, or casual weeknight side. Serve them hot with a zesty dipping sauce and watch them disappear.
The sizzle of something hitting hot oil on a Tuesday evening is one of my favorite kitchen sounds, especially when that something turns out to be crispy little chickpea nuggets loaded with chili and garlic. I stumbled into this recipe during a phase when I was trying to eat less meat but refused to compromise on crunch. What started as a desperate pantry raid became a weekly ritual that my roommate now demands without exception. These golden bites are proof that humble canned chickpeas can transform into something genuinely exciting.
I first served these at an impromptu game night when the only snack options were a sad bag of chips and two cans of chickpeas. My friend Marco, who openly distrusts anything labeled vegan, ate eleven of them before asking what they were. The look on his face when I said chickpeas was worth every minute spent frying batches in my cramped kitchen.
Ingredients
- 2 cups canned chickpeas (drained and rinsed): The foundation of everything, so rinse them well to remove the canning liquid that can make your mixture too wet.
- 3 cloves garlic, minced: Fresh garlic matters here, do not reach for the jarred stuff.
- 1 small red onion, finely diced: Red onion adds a slight sweetness and color that white onion cannot replicate.
- 1 tablespoon chili flakes: This gives a respectable warmth without overwhelming heat, but adjust according to your spice tolerance.
- 1 teaspoon smoked paprika: This is what makes people close their eyes and try to guess the secret ingredient.
- 1 teaspoon ground cumin: Adds an earthy depth that rounds out the brighter flavors.
- 1 teaspoon salt and 1/2 teaspoon black pepper: Seasoning is nonnegotiable, taste your mixture before shaping.
- 2 tablespoons chopped fresh parsley: Brings freshness and a pop of green that makes these feel less like bar food.
- 1 tablespoon lemon juice: A squeeze of acidity wakes up every spice in the mix.
- 2 tablespoons olive oil: Helps bind the mixture while adding richness.
- 1/2 cup breadcrumbs: Folded into the mixture to absorb moisture and create structure.
- 2 tablespoons all purpose flour: Acts as the glue holding everything together.
- 1/2 cup plant based milk: Any unsweetened variety works, just avoid vanilla flavored.
- 1 cup panko breadcrumbs: The coating that delivers that irresistible crunch.
- Vegetable oil for shallow frying: You need about a quarter inch in your skillet for proper crisping.
Instructions
- Build the chickpea base:
- Toss the drained chickpeas, garlic, red onion, chili flakes, smoked paprika, cumin, salt, pepper, parsley, lemon juice, and olive oil into a food processor. Pulse until combined but stop before it turns into hummus, you want some texture left.
- Bring the dough together:
- Scrape the mixture into a bowl and fold in the half cup of breadcrumbs and flour with your hands. If it sticks to your palms excessively, sprinkle in more breadcrumbs a tablespoon at a time until it holds its shape when squeezed.
- Shape your nuggets:
- Roll portions between your palms into small ovals or patties, aiming for roughly sixteen pieces. Keep them uniform so they cook at the same rate.
- Set up the coating station:
- Pour the plant milk into a shallow bowl and spread the panko on a plate. Line up your nuggets, the milk, the panko, and a clean plate for the finished pieces in a neat little assembly line.
- Coat each piece:
- Dip a nugget into the milk briefly, letting excess drip off, then press it into the panko on all sides. Set coated nuggets on your clean plate and resist the urge to crowd them.
- Fry until golden:
- Heat a quarter inch of oil in a large skillet over medium heat until a panko crumb sizzles on contact. Fry nuggets in batches without overcrowding for two to three minutes per side until deeply golden, then drain on paper towels.
 Pin This
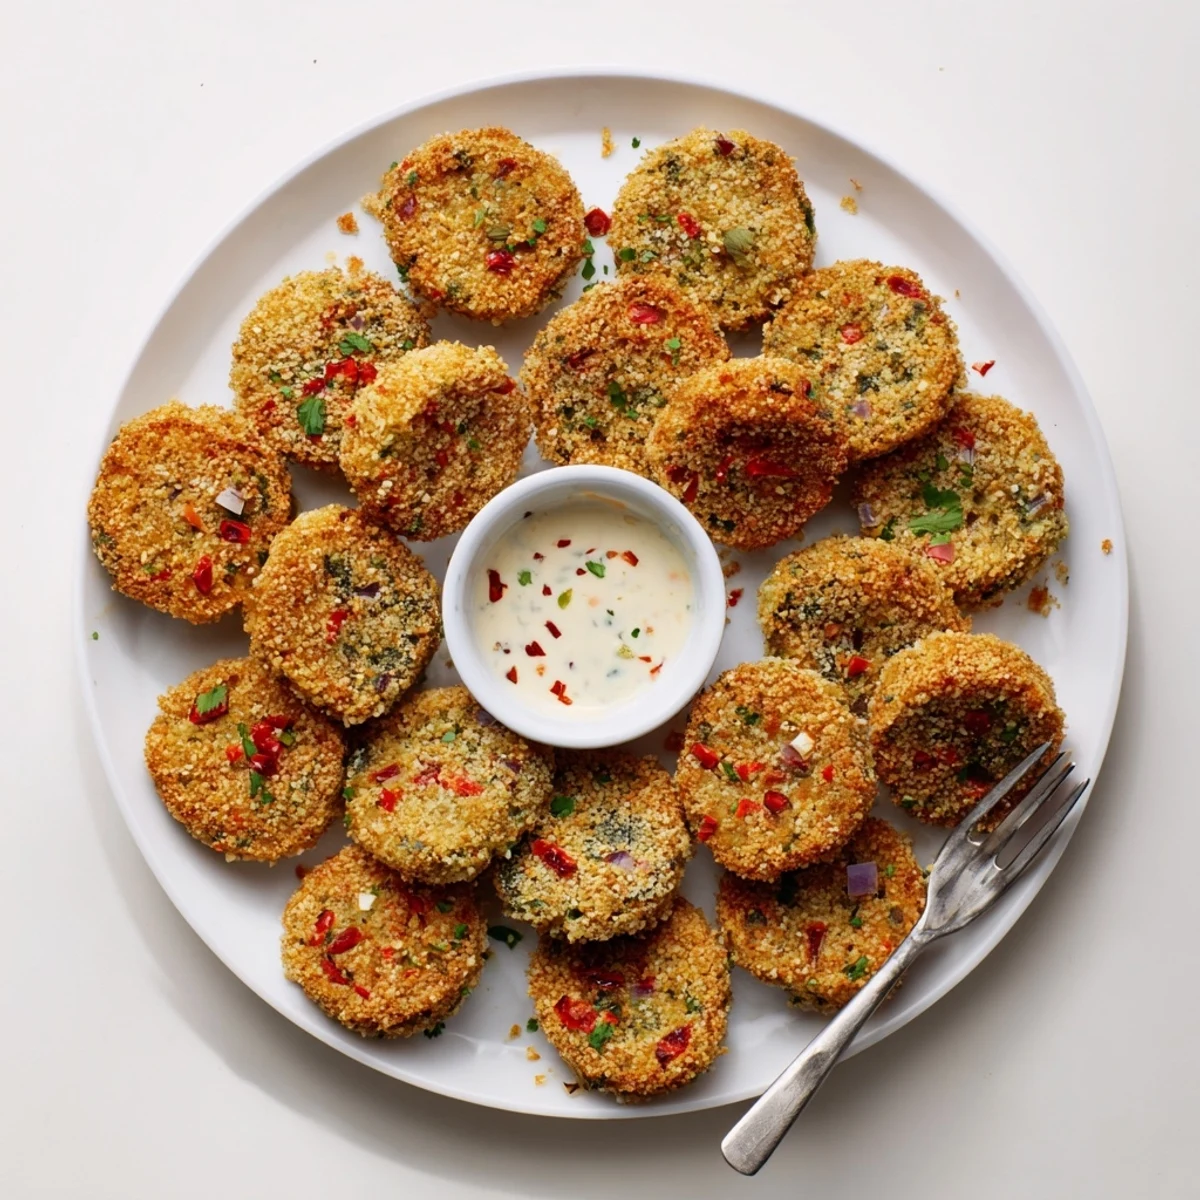
 There is something deeply satisfying about watching a plate of these disappear at a gathering, especially when nobody asks what is in them first. They have a way of turning skeptics into believers one crunchy bite at a time.
Baking Instead of Frying
On nights when standing over a hot skillet feels like too much effort, the oven method is your best friend. Arrange the coated nuggets on a parchment lined baking sheet, give them a generous spray of oil, and bake at 425 degrees Fahrenheit for about twenty to twenty five minutes, flipping once halfway through. They will not be quite as shatteringly crisp as the fried version but they come impressively close and your kitchen stays significantly cooler.
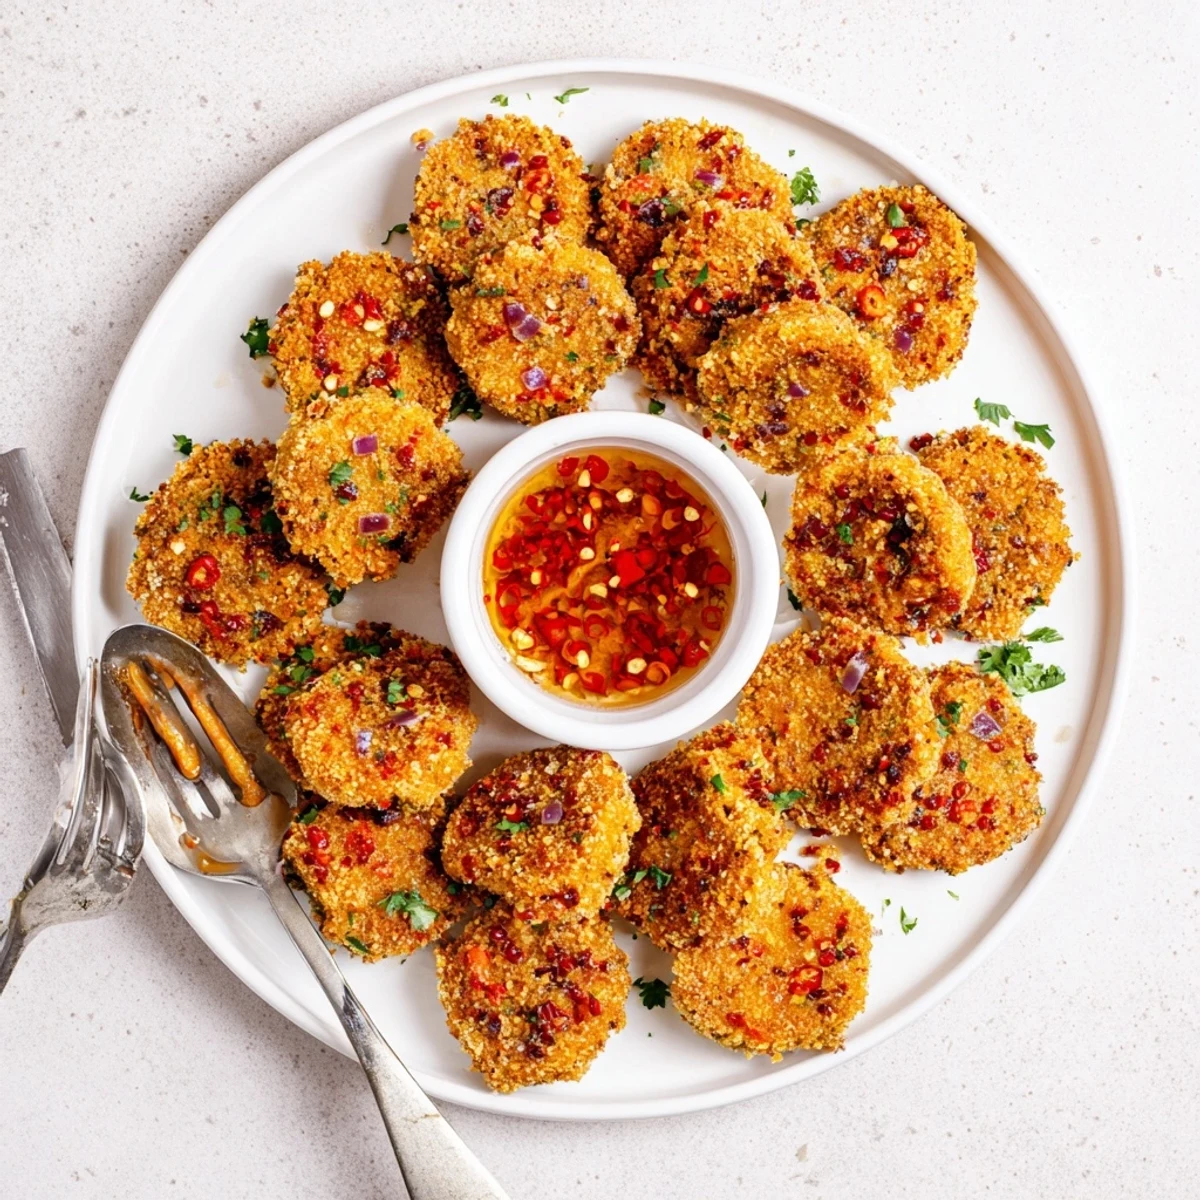
Choosing the Right Dipping Sauce
These nuggets are excellent on their own but the right sauce elevates them from great to unforgettable. A simple mix of vegan mayo, sriracha, a squeeze of lime, and a pinch of garlic powder takes about thirty seconds to stir together. Sweet chili sauce, tahini with lemon, or even a mango habanero sauce all work beautifully depending on your mood.
Storage and Reheating Tips
Leftovers keep well in an airtight container in the refrigerator for up to three days, though they rarely last that long in my house. Reheating is where the air fryer truly shines, restoring almost all of the original crunch in just a few minutes. A conventional oven at 375 degrees Fahrenheit for about ten minutes also works if you do not have an air fryer.
- Freeze uncooked shaped nuggets on a sheet pan, then transfer to a bag for up to a month of storage.
- Coat frozen nuggets straight from the freezer, adding an extra minute or two to the frying time.
- Always let fried nuggets rest on paper towels for at least two minutes before serving so the crust sets properly.
 Pin This
 Keep a batch of these in your back pocket for whenever hunger strikes and friends descend unannounced. They are proof that the best recipes often come from the most unassuming ingredients.
Recipe FAQs
- → Can I bake these chickpea nuggets instead of frying?
-
Absolutely. Arrange the coated nuggets on a parchment-lined baking sheet, spray lightly with oil, and bake at 425°F (220°C) for 20 to 25 minutes, flipping once halfway through. They won't be quite as crunchy as the fried version but still delicious.
- → How do I keep the nuggets from falling apart while cooking?
-
Make sure the chickpea mixture isn't too wet before shaping. Adding enough breadcrumbs and a bit of flour creates a sturdy dough. Chilling the shaped patties for 15 minutes in the fridge also helps them hold together during frying.
- → What dipping sauces pair well with these?
-
A sriracha mayo, sweet chili sauce, tahini-lemon drizzle, or a simple garlic-herb yogurt dip all complement the smoky, spiced flavors beautifully. For a vegan option, use a plant-based mayo or yogurt as the base.
- → Can I make the chickpea mixture ahead of time?
-
Yes, the uncooked mixture can be prepared and stored in the refrigerator for up to 24 hours before shaping and frying. You can also freeze the shaped, uncoated nuggets for up to a month — thaw them in the fridge before breading and cooking.
- → Are these chickpea nuggets gluten-free?
-
They can be. Swap the regular breadcrumbs and all-purpose flour for gluten-free alternatives, and use gluten-free panko for the coating. Double-check your plant-based milk and other ingredients to confirm they're gluten-free as well.
- → What's the best way to reheat leftover nuggets?
-
For maximum crispiness, reheat them in an oven or air fryer at 375°F (190°C) for 8 to 10 minutes. Avoid microwaving, as it will make the coating soggy and soft.