 Pin This
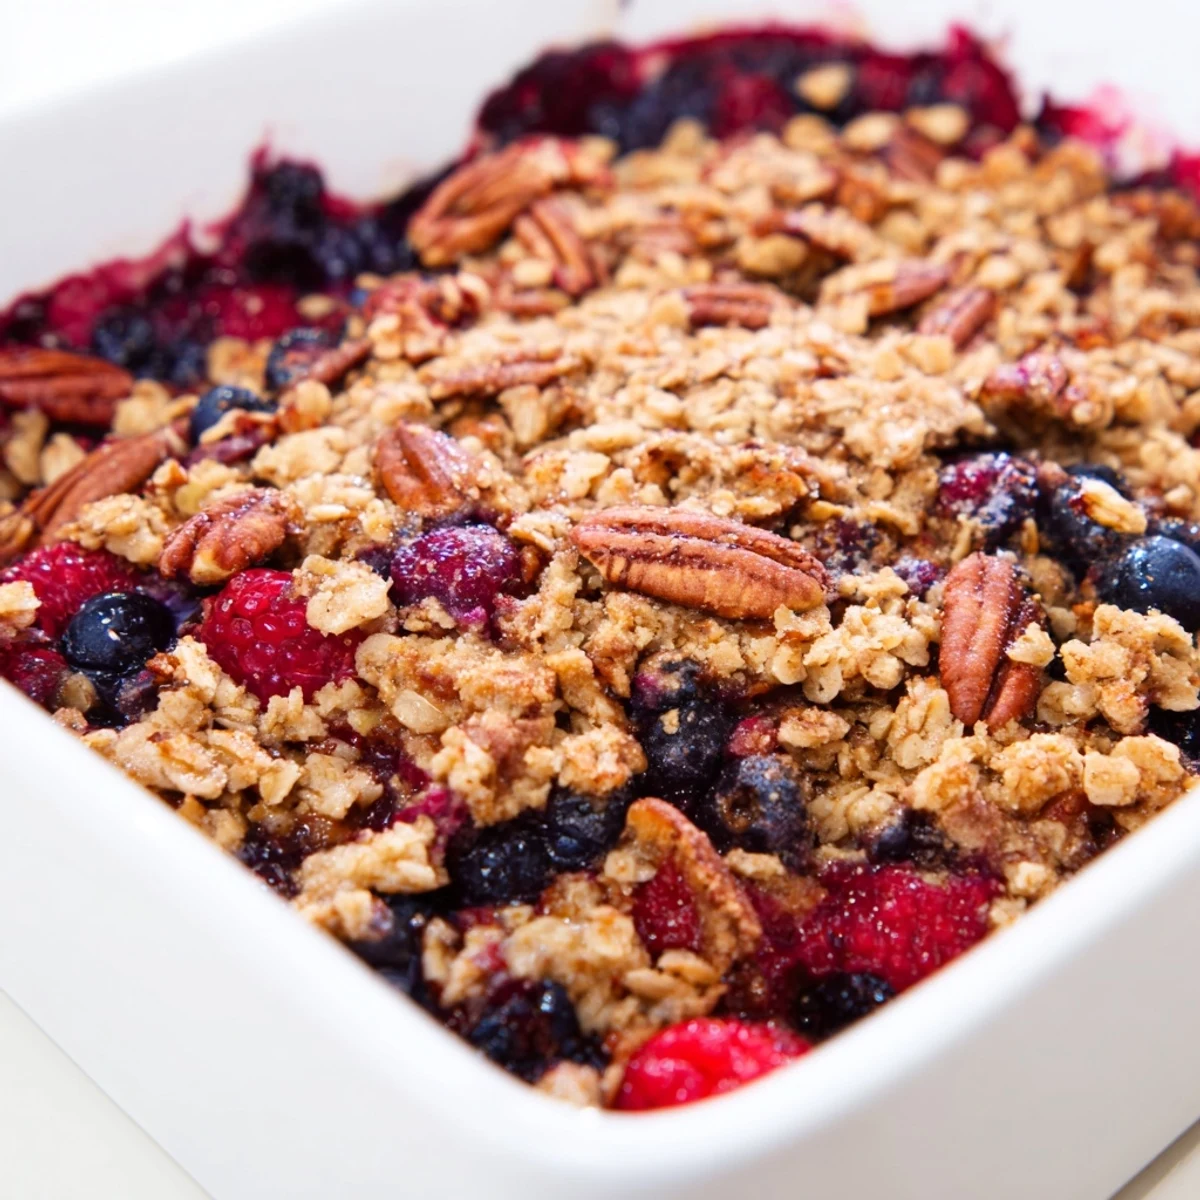
 Whip up a comforting dessert featuring juicy, bubbling berries beneath a golden, maple-kissed oat crumble. This Vanilla Maple Berry Crisp comes together quickly for a warm treat perfect for any gathering.
There is a specific kind of comfort that comes from the smell of maple syrup and toasted oats wafting through the kitchen on a cool evening. I first threw this together on a whim during a potluck when I realized I had forgotten to buy dessert supplies, relying solely on a stash of frozen berries and pantry staples. It has since become the only dessert I am ever asked to bring to gatherings, simple though it may be.
I vividly remember serving this to a friend who claimed to dislike cooked fruit. The contrast between the hot, bubbling fruit layer and the crunchy, salty sweet topping won him over immediately with the very first spoonful.
Ingredients
- Mixed Berries: Fresh berries are wonderful, but frozen ones work perfectly here and release plenty of juice as they bake.
- Maple Syrup: Use pure maple syrup rather than imitation pancake syrup for the best flavor depth.
- Old Fashioned Oats: Do not use quick oats or steel cut oats as they will not provide the correct texture.
- Unsalted Butter: Melted butter coats the dry ingredients more evenly than softened butter for a crispier crumble.
Instructions
- Get the oven going:
- Preheat your oven to 350 degrees F and lightly grease a 2 quart baking dish with butter.
- Prepare the filling:
- Toss the berries gently with the maple syrup, cornstarch, vanilla, lemon juice, and a pinch of salt in a large bowl.
- Assemble the crisp:
- Pour the fruit mixture into your prepared baking dish.
- Mix the topping:
- Combine the oats, flour, nuts, brown sugar, cinnamon, and salt in a separate bowl.
- Bind it together:
- Stir in the melted butter, vanilla extract, and the quarter cup of maple syrup.
- Top and bake:
- Sprinkle the oat mixture evenly over the berries and bake for 35 minutes.
 Pin This
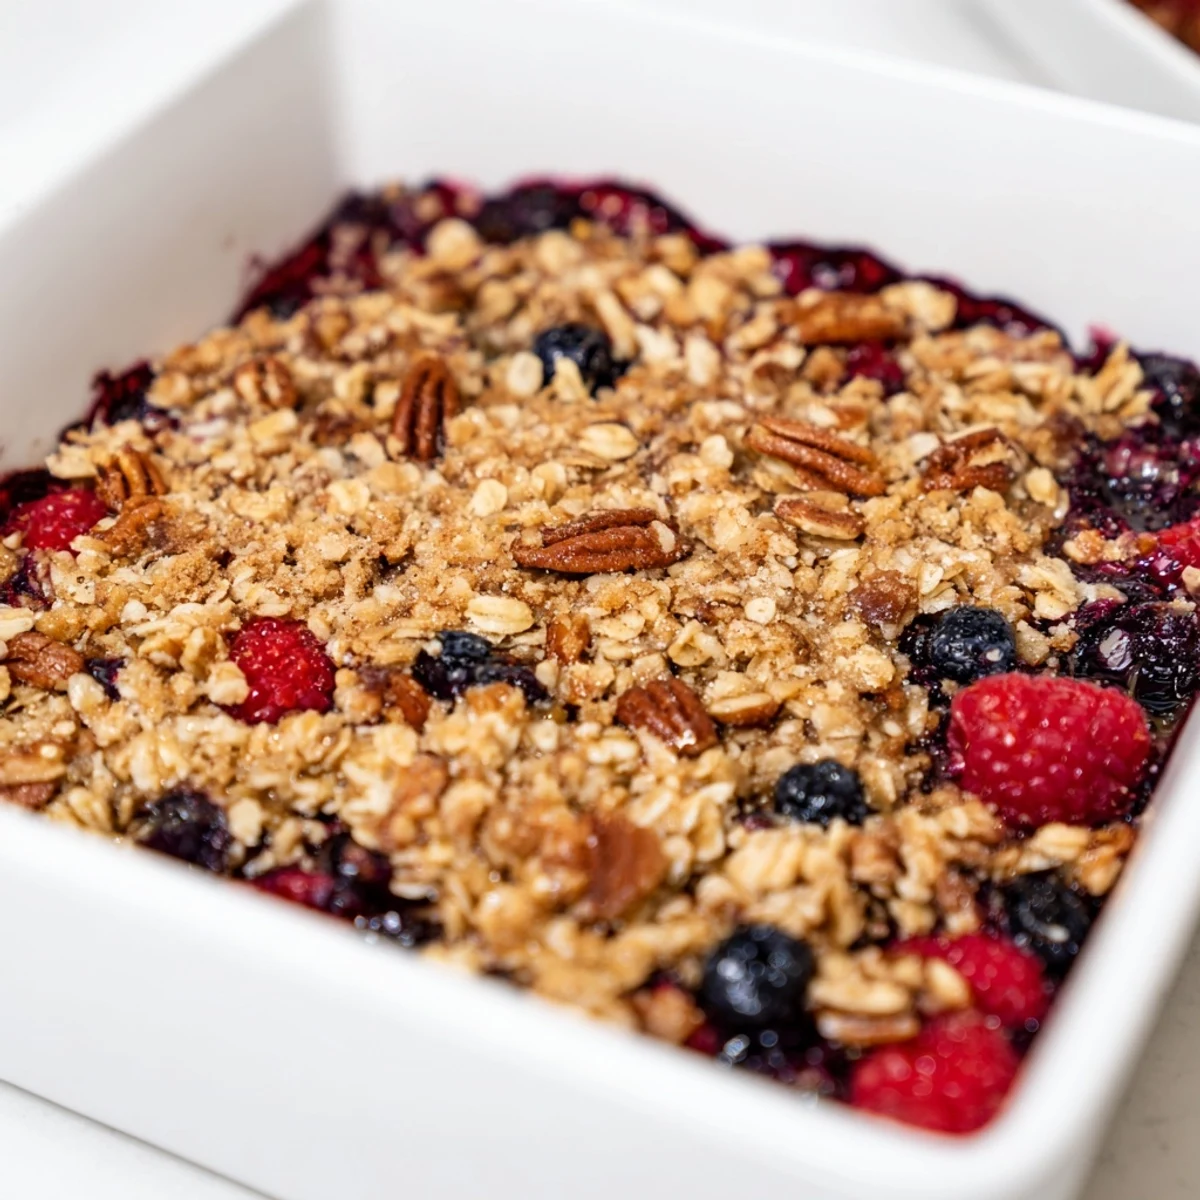
 This crisp eventually became more than just a dessert for me. It turned into the perfect excuse to linger at the table long after dinner was finished, watching steam rise into the kitchen lights while talking about everything and nothing.
Choosing the Right Fruit
I find that a mix of blueberries, raspberries, and blackberries provides the best balance of sweet and tart. If you are using strawberries, try to slice them in half first so they do not release too much water.
Getting the Texture Right
You want the topping to look like wet sand before it goes into the oven. If it seems too dry, add a tablespoon more melted butter to help it clump together and get that golden crunch we are looking for.
Serving Ideas
While it is delicious on its own, a scoop of vanilla bean ice cream melting into the warm berries is absolute perfection. If you want to keep it dairy free, a dollop of coconut whipped cream works beautifully too.
- Reheat leftovers gently in the microwave.
- Store covered at room temperature for one day.
- Refrigerate for up to three days.
 Pin This
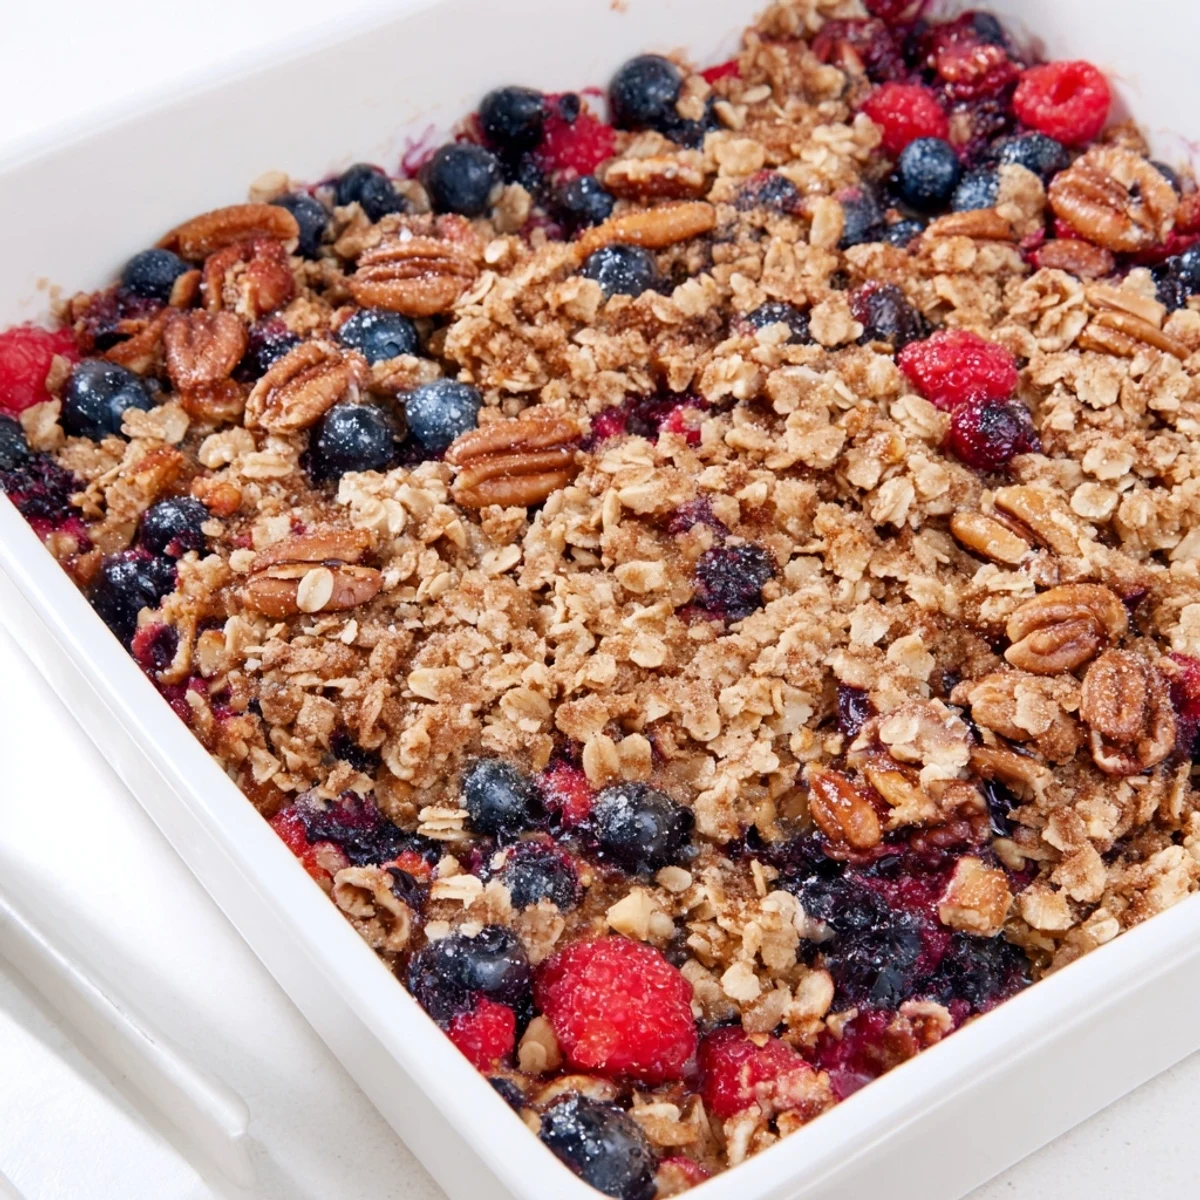
 Enjoy this simple treat and the cozy moments it brings to your home.
Recipe FAQs
- → What berries work best?
-
Fresh or frozen blueberries, raspberries, blackberries, and strawberries create a juicy, balanced filling.
- → Can I make it gluten-free?
-
Yes, simply use certified gluten-free oats and a gluten-free flour blend for the topping.
- → How do I store leftovers?
-
Keep covered in the refrigerator for up to 3 days and reheat gently to restore the crisp texture.
- → Can I substitute the butter?
-
Melted coconut oil is a great alternative to butter for a dairy-free version.
- → What should I serve with it?
-
It pairs perfectly with vanilla bean ice cream or lightly sweetened whipped cream.