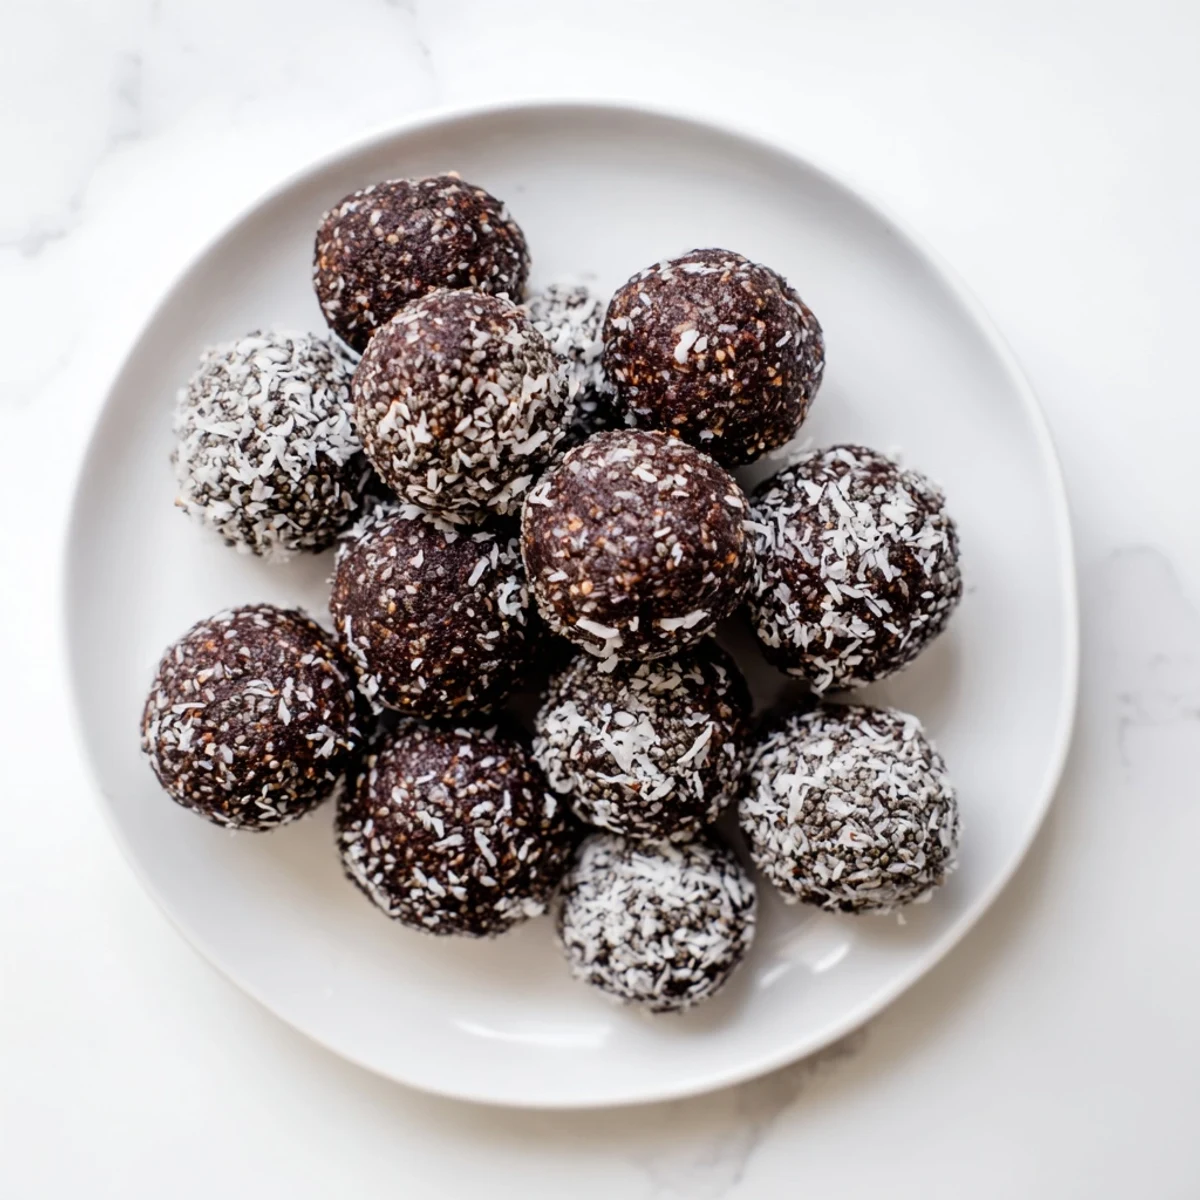
 Pin This
 These blissful no-bake treats combine rich cocoa, toasted coconut, buttery cashews, and protein-packed chia seeds into perfectly portioned energy balls. The naturally sweet Medjool dates bind everything together while melted coconut oil adds creaminess. Simply pulse, roll, and chill for a nutritious snack that's ready in 15 minutes.
My youngest child discovered these energy balls during a particularly hectic sports season and promptly dubbed them chocolate mommy magic. The name stuck because somehow, between frantic school pickups and soccer practice, these little bites became our emergency fuel. Now I keep a batch in the fridge constantly, not just for the kids but for those afternoons when I need something substantial but refuse to reach for processed snacks.
Last summer, I brought a container to our neighborhood block party and watched them disappear in record time. My neighbor Sarah cornered me halfway through the event, practically begging for the recipe because her teenage son who never eats anything healthy had already eaten three. That moment of validation, watching skeptical faces turn curious and then delighted, is why I keep making them for every gathering now.
Ingredients
- 1 cup raw cashews: These provide the creamy, buttery base and healthy fats that keep you satisfied, but pulse them carefully or you'll end up with cashew butter instead of pieces
- 1 cup unsweetened shredded coconut: I've learned the hard way that sweetened coconut makes these cloyingly rich, so stick to unsweetened and let the dates provide all the sweetness you need
- 2 tbsp chia seeds: These tiny seeds expand in your stomach and provide a subtle crunch that my kids actually love, plus they pack in omega-3s without any fishy taste
- 1/4 cup unsweetened cocoa powder: Dutch-processed gives a smoother chocolate flavor, but natural cocoa works perfectly fine if that's what you have in your pantry
- 1/4 tsp fine sea salt: Don't skip this, it makes the chocolate flavor pop the way a pinch of salt does in brownies
- 8 large Medjool dates: These are absolutely crucial because they're sticky enough to bind everything together, and I buy them in bulk from the produce section where they're softer than the packaged ones
- 2 tbsp coconut oil, melted: This helps the dough come together and gives them a silky mouthfeel, but make sure it's actually melted or you'll get weird clumps
- 1 tsp vanilla extract: Pure vanilla makes a noticeable difference here, so use the good stuff you reserve for special occasions
- 1/4 cup additional shredded coconut for rolling: This is purely for aesthetics and preventing sticky fingers, but it does make them look professional and finished
Instructions
- Prepare the base:
- Place the cashews and shredded coconut in your food processor and pulse until they're finely ground but not completely smooth, you want some texture remaining
- Add the dry mix-ins:
- Drop in the chia seeds, cocoa powder, and salt, then pulse briefly just until everything looks evenly combined and chocolatey throughout
- Bring it together:
- Add the pitted dates, melted coconut oil, and vanilla extract, then process until the mixture starts clumping together and pulling away from the sides of the bowl, about 30 seconds
- Test the consistency:
- Pinch a small amount of dough between your fingers, if it holds together easily you're ready to roll, if it crumbles add another teaspoon of coconut oil and process again
- Form the balls:
- Scoop out tablespoons of dough and roll them between your palms into rounds, applying gentle pressure so they hold their shape without being compressed too tightly
- Add the finishing touch:
- Pour your extra shredded coconut onto a small plate and roll each ball lightly to coat the exterior, pressing gently so it adheres without falling off
- Set them up:
- Arrange the bliss balls on a parchment-lined baking sheet and refrigerate for at least 30 minutes, which firms them up and makes them easier to store without sticking together
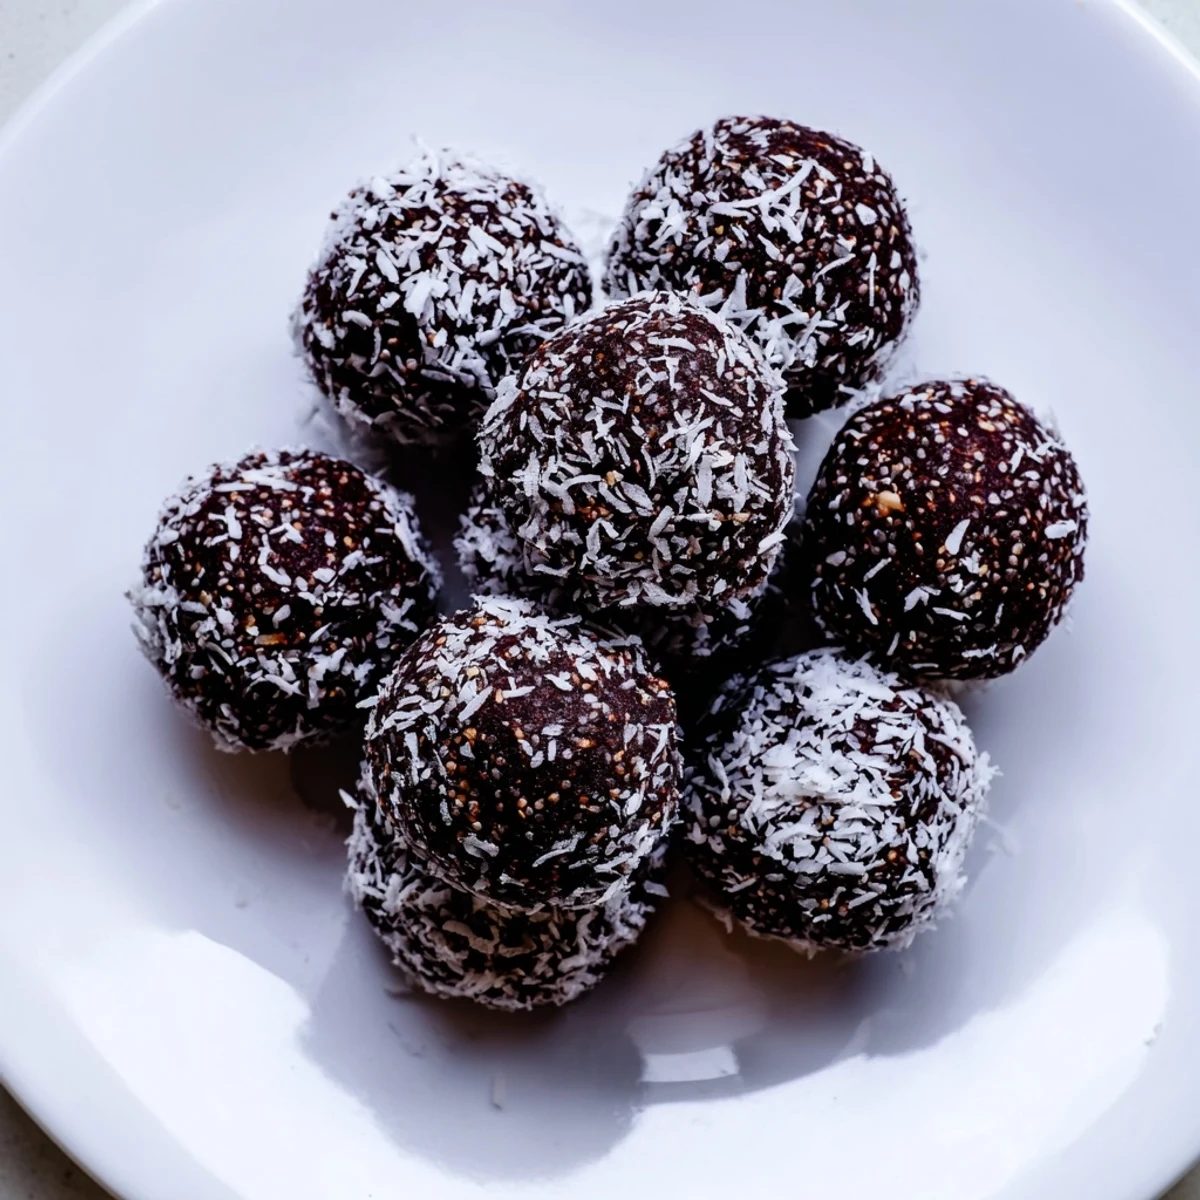 Pin This
 During exam week last semester, my college-aged student called home absolutely stressed about studying and proper nutrition. That same day, I packed a cooler with these bliss balls and drove two hours to surprise them with something homemade and nourishing. The relief on their face, knowing someone had their back with food that actually made them feel good, turned this recipe from a simple snack into a love language.
Making Them Your Own
I've discovered that the cashew base is wonderfully forgiving, and I've successfully swapped in almonds during cashew shortages and pecans when I wanted something more festive. The key is keeping the ratio roughly the same so the dough still binds properly. For a protein boost, I've stirred in a scoop of vanilla protein powder when my teenager needed extra fuel before track meets. Just remember that adding dry ingredients might require an extra date or teaspoon of coconut oil to maintain the right consistency.
Perfecting the Texture
The difference between good bliss balls and great ones comes down to processing time. I learned this after making several batches that were either too chunky or pasty. Stop processing as soon as the dough starts clumping together in the food processor, overworking it releases too much oil from the nuts and makes them greasy. Also, don't be afraid to get your hands dirty when rolling them, the warmth from your palms actually helps the coconut oil bind everything together more effectively.
Storage and Batch Tips
These have become my go-to meal prep item because they scale up beautifully and keep so well. I always make a double batch because the first one mysteriously vanishes within three days in my house, and having extras stashed in the freezer prevents the weekday afternoon scramble for snacks. Use parchment paper between layers when storing them, otherwise they'll stick together and you'll end up breaking them apart when you just want a quick bite.
- Store them in glass containers rather than plastic, which seems to keep them fresher longer
- If you're making these for gifts, add a pinch of cinnamon or espresso powder to make them feel special
- Press a whole cashew into the top of each ball before chilling if you want to fancy them up for serving
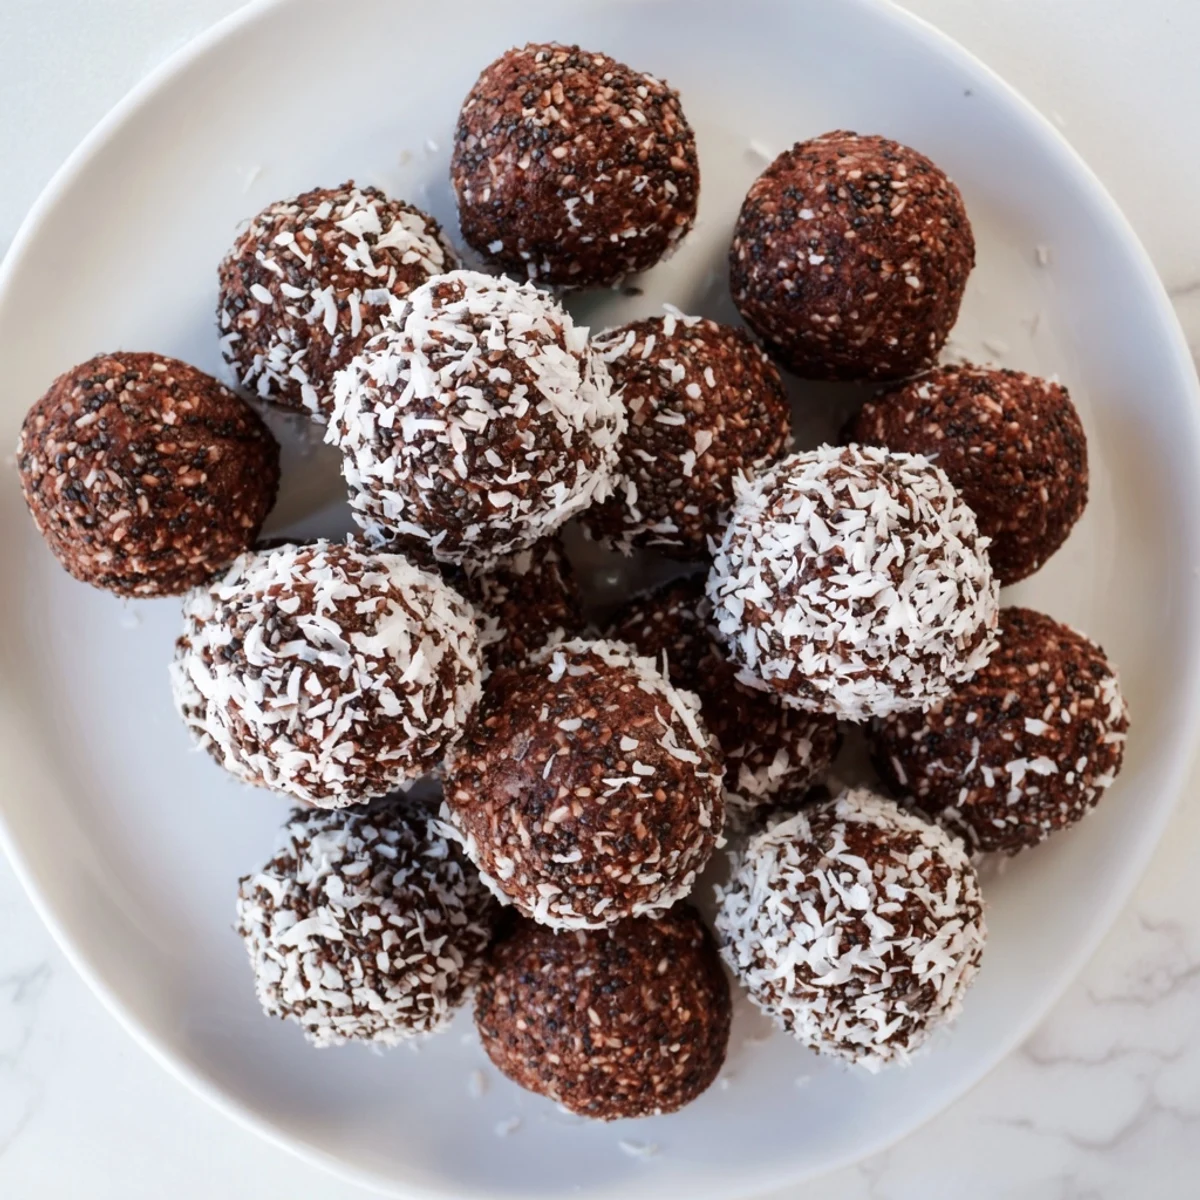 Pin This
 There's something deeply satisfying about having a homemade treat ready in the fridge, knowing exactly what went into it and watching family members choose these over packaged snacks. That quiet victory, knowing you've made something both delicious and genuinely nourishing, is what keeps me coming back to this recipe week after week.
Recipe FAQs
- → How long do these bliss balls keep?
-
Store in an airtight container in the refrigerator for up to 1 week. They can also be frozen for up to 2 months for longer storage.
- → Can I make these without a food processor?
-
A food processor works best for achieving the right texture, but you can finely chop ingredients by hand and mash dates thoroughly before mixing. Results will be chunkier.
- → What's the best way to roll the balls?
-
Wet your hands slightly with water to prevent sticking. Use a tablespoon to portion evenly, then roll gently between palms until smooth.
- → Can I substitute the dates?
-
Soft dried figs or raisins can replace dates, though the flavor profile will change slightly. Ensure whichever fruit you use is soft and sticky enough to bind.
- → Are these suitable for meal prep?
-
Absolutely. Make a double batch and freeze portions. They thaw quickly at room temperature, making them perfect for grab-and-go breakfasts or snacks.