 Pin This
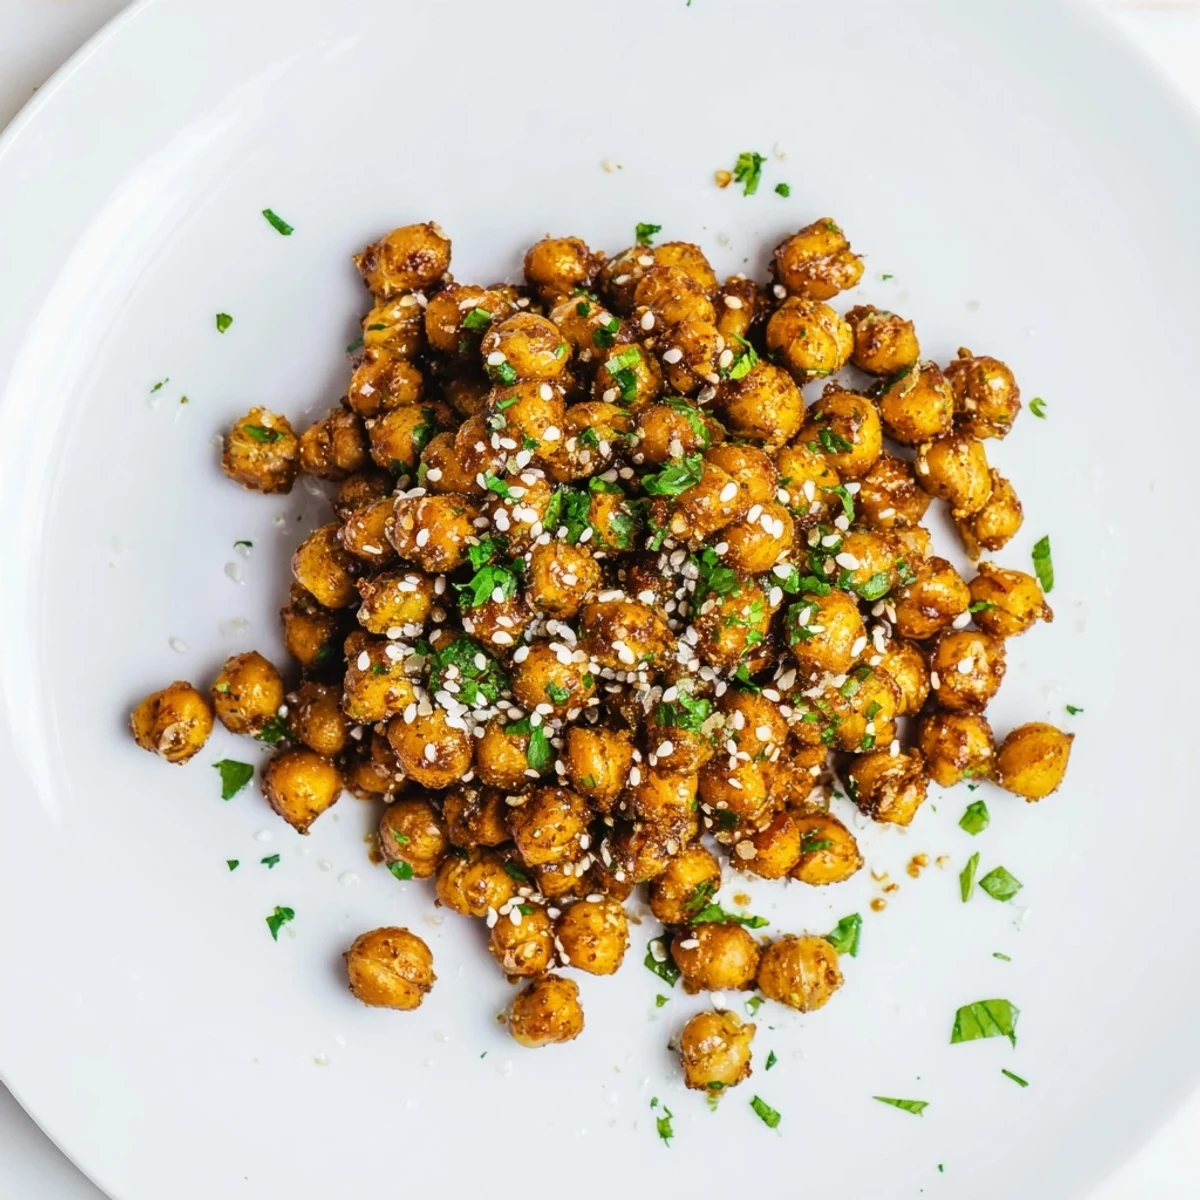
 These golden chickpeas deliver irresistible crunch with aromatic garlic and nutty sesame flavors. The roasting process transforms humble legumes into a protein-rich snack that's perfect for grazing or sprinkling over salads and grain bowls. With just 10 minutes of prep and 30 minutes in the oven, you'll have a batch of crispy, savory bites that stay fresh for days.
The first time I made these crispy chickpeas, my kitchen smelled like a Mediterranean restaurant and I couldn't stop eating them straight from the baking sheet. They're incredibly addictive — the kind of snack that disappears before you even realize what happened. I've since learned to double the recipe because a single batch never lasts long enough.
I started making these during late afternoon study sessions when I needed something satisfying but didn't want to commit to a full meal. My roommate kept wandering into the kitchen asking what smelled so incredible, and eventually we started planning entire snack nights around them. Now they're our go-to for everything from movie marathons to topping Sunday morning avocado toast.
Ingredients
- Chickpeas: 2 cups cooked chickpeas, thoroughly dried — excess moisture is the enemy of crispiness so pat them very well with paper towels
- Olive oil: 2 tablespoons helps the spices stick and promotes even browning in the oven
- Fresh garlic: 2 cloves finely minced, it will roast alongside the chickpeas and mellow into something sweet and aromatic
- Sesame oil: 1 teaspoon adds that irresistible nutty finish that makes these taste restaurant-quality
- Smoked paprika: 1/2 teaspoon provides subtle depth and a gorgeous golden color
- Sea salt: 1/2 teaspoon enhances all the other flavors and helps draw out moisture for better texture
- Sesame seeds: 2 tablespoons white or black, they toast slightly from the residual heat and add delightful crunch
Instructions
- Get your oven ready:
- Preheat to 400°F and line a baking sheet with parchment paper for easy cleanup
- Dry those chickpeas thoroughly:
- Pat them completely dry with paper towels and remove any loose skins that come off — this step makes all the difference between crispy and soggy
- Coat with aromatics:
- Toss the dried chickpeas with olive oil, minced garlic, smoked paprika, salt, and pepper until every single one is evenly coated
- Arrange for maximum crispiness:
- Spread them in a single layer on your prepared baking sheet, giving each chickpea space to breathe and brown
- Roast until golden:
- Bake for 25 to 30 minutes, shaking the pan halfway through so they brown evenly on all sides
- Add the finishing touches:
- Remove from the oven, immediately drizzle with sesame oil and sprinkle with sesame seeds, tossing while hot so everything coats beautifully
- Patience pays off:
- Let them cool for at least 10 minutes — they'll continue crisping up and become even more irresistible
 Pin This
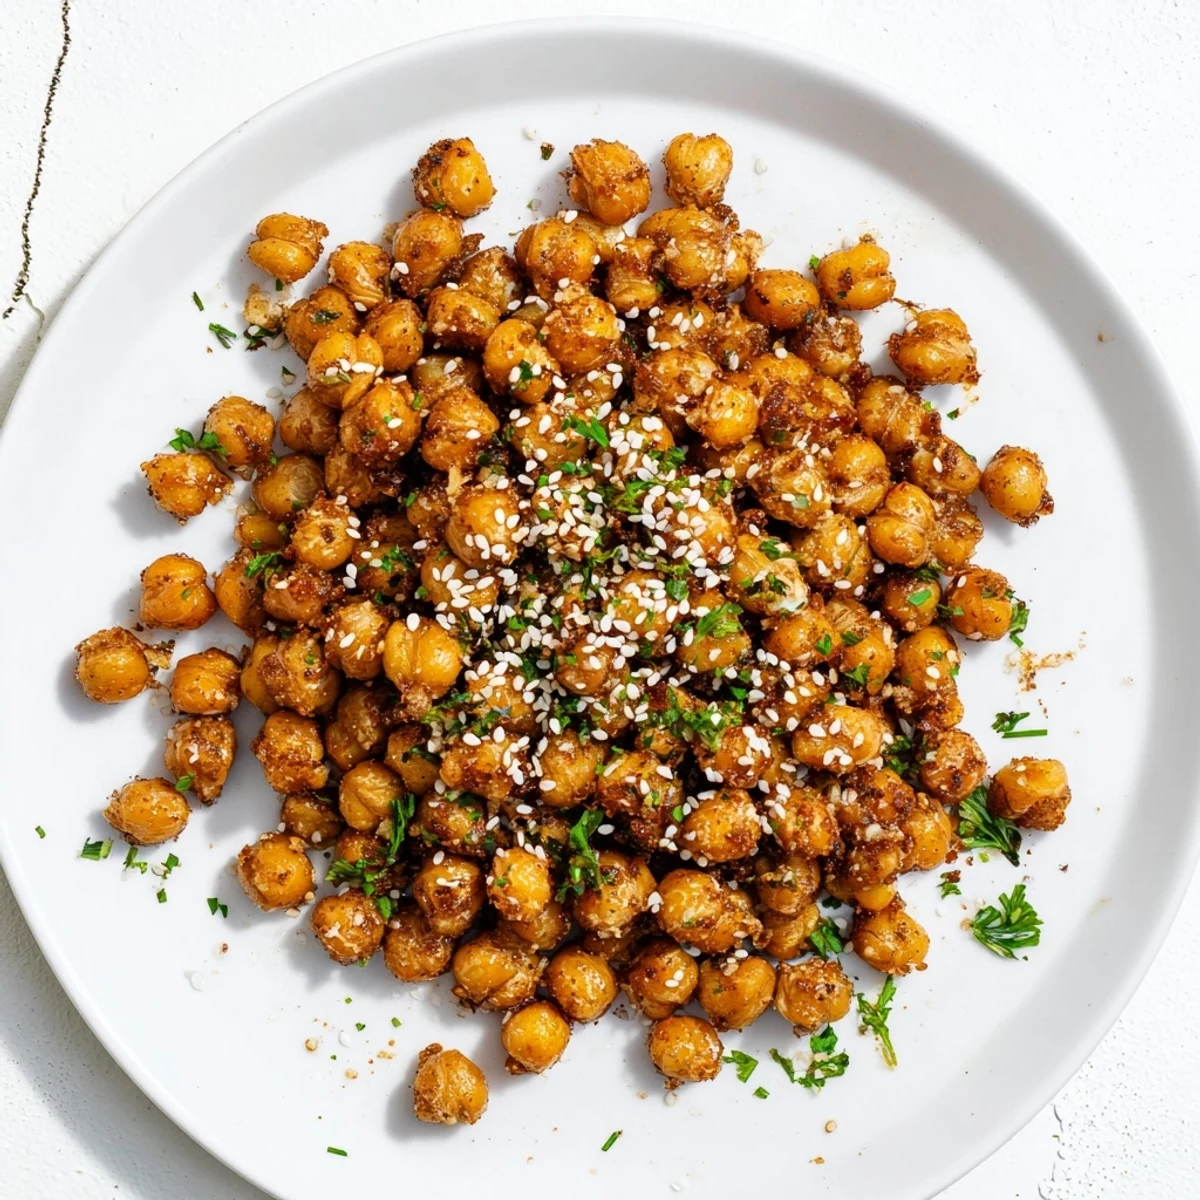
 These chickpeas have become my secret weapon for last-minute guests. I can throw them together in minutes, and people always assume I spent way more time on them than I actually did. There's something satisfying about serving something so simple yet so universally loved.
Making Them Your Own
I've experimented with countless spice variations and each one brings something different to the table. Sometimes I'll add cumin and coriander for a Moroccan twist, or go heavy on the smoked paprika when I want something almost bacon-like in its smokiness. The base formula stays the same, but the personality shifts completely.
Serving Ideas
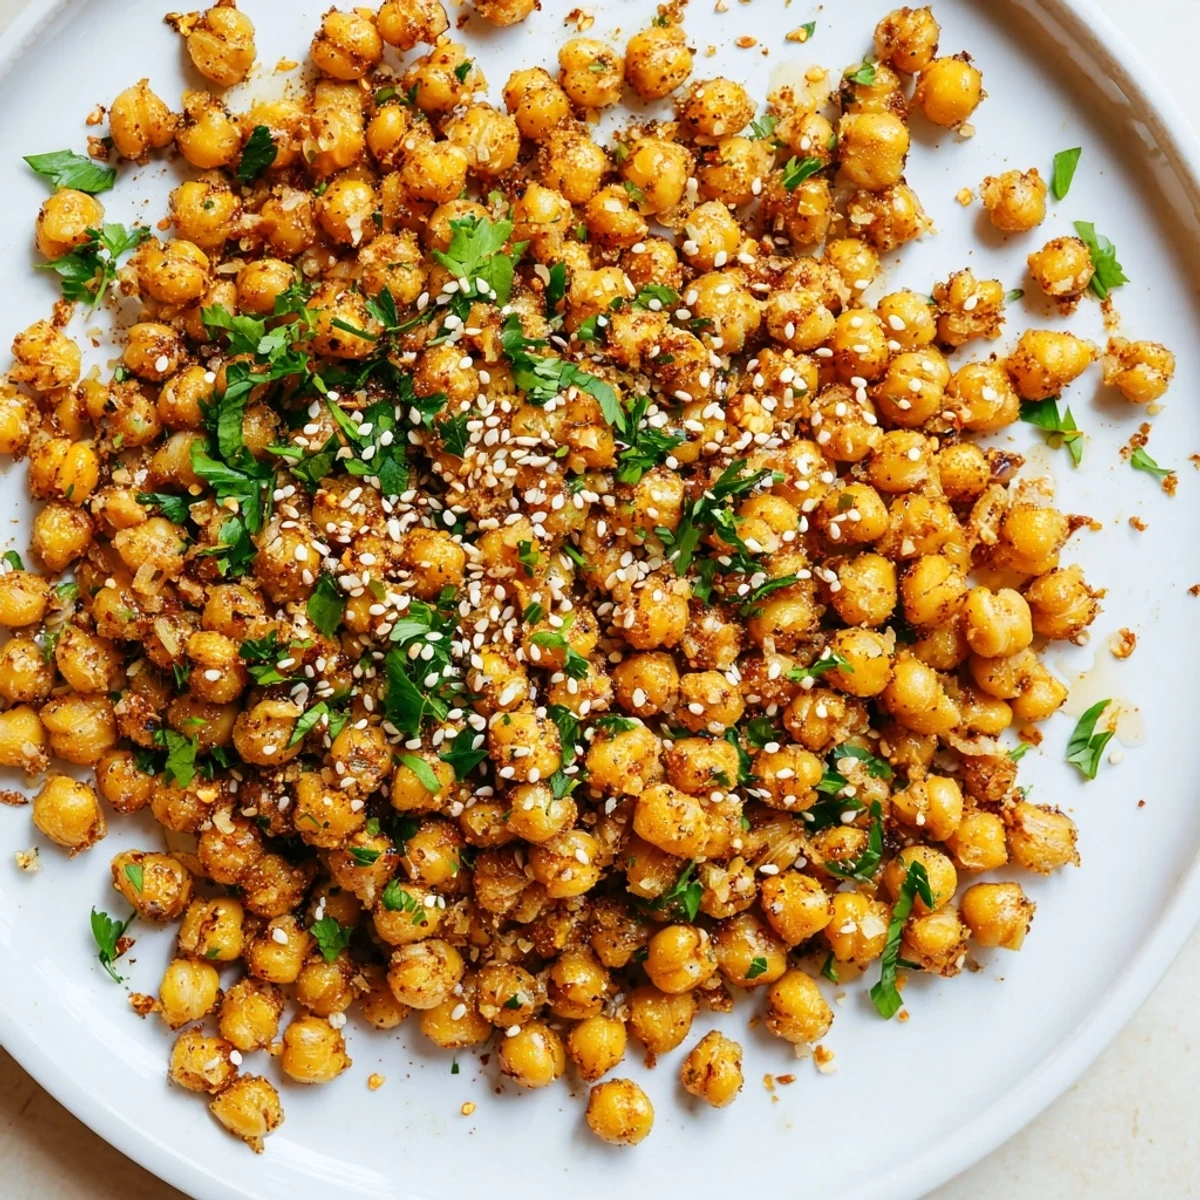
While these are perfect on their own as a snack, they've become my favorite way to add texture and protein to almost anything. I crush them slightly over grain bowls, toss them into salads instead of croutons, or even use them as a crunchy topping for creamy soups. They keep for days, so I often make a double batch and sprinkle them throughout the week.
Common Mistakes to Avoid
The biggest disappointment comes from rushing the drying process or not baking them long enough. When they first come out of the oven, they might feel slightly soft in the center — that's completely normal and why the cooling time is essential. Trust me when I say the transformation during those final minutes is worth the wait.
- Don't skip removing the loose skins — they burn and taste bitter
- Resist the urge to increase the oven temperature to speed things up, as the garlic will burn before the chickpeas crisp
- Store them without a lid for the first day if they seem slightly soft to help them dry further
 Pin This
 These chickpeas have become one of those recipes I can make without even thinking, yet they still feel special every single time. Hope they become a staple in your kitchen too.
Recipe FAQs
- → How do I make the chickpeas extra crispy?
-
Pat the chickpeas thoroughly dry with paper towels before seasoning. Remove any loose skins that fall off naturally during drying. Spread them in a single layer on the baking sheet and roast at 400°F until golden brown. They'll continue to crisp as they cool for at least 10 minutes after roasting.
- → Can I use dried chickpeas instead of canned?
-
Yes, cook dried chickpeas until completely tender, then drain and pat them very dry before proceeding with the seasoning and roasting steps. Freshly cooked chickpeas often yield an even crispier result than canned varieties.
- → What spices work well in this blend?
-
Beyond the garlic and smoked paprika, try adding cumin for earthiness, curry powder for warmth, or a pinch of cayenne for heat. The sesame oil and seeds provide the signature nutty finish that balances any spice additions.
- → How should I store leftovers?
-
Keep completely cooled chickpeas in an airtight container at room temperature for up to 3 days. Avoid refrigeration as moisture can make them lose their crunch. If they soften slightly, a quick 5-minute toast in the oven will restore crispiness.
- → What dishes pair well with these chickpeas?
-
Sprinkle over Mediterranean salads, grain bowls with quinoa or farro, or hummus plates. They add delightful texture to creamy soups and make an excellent alternative to croutons in Caesar salads. Serve alongside roasted vegetables or as a protein-rich addition to mezze platters.